 Save
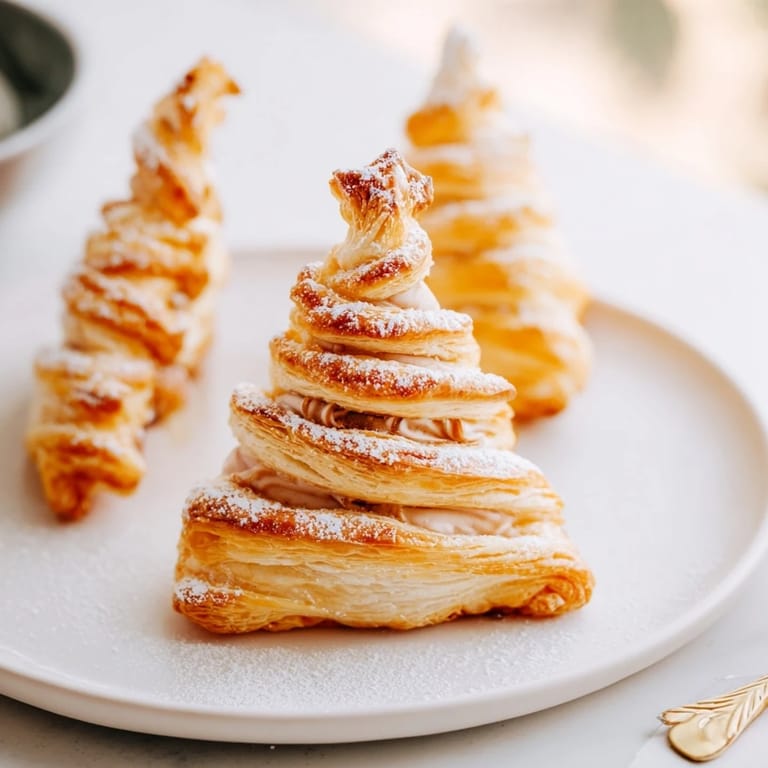
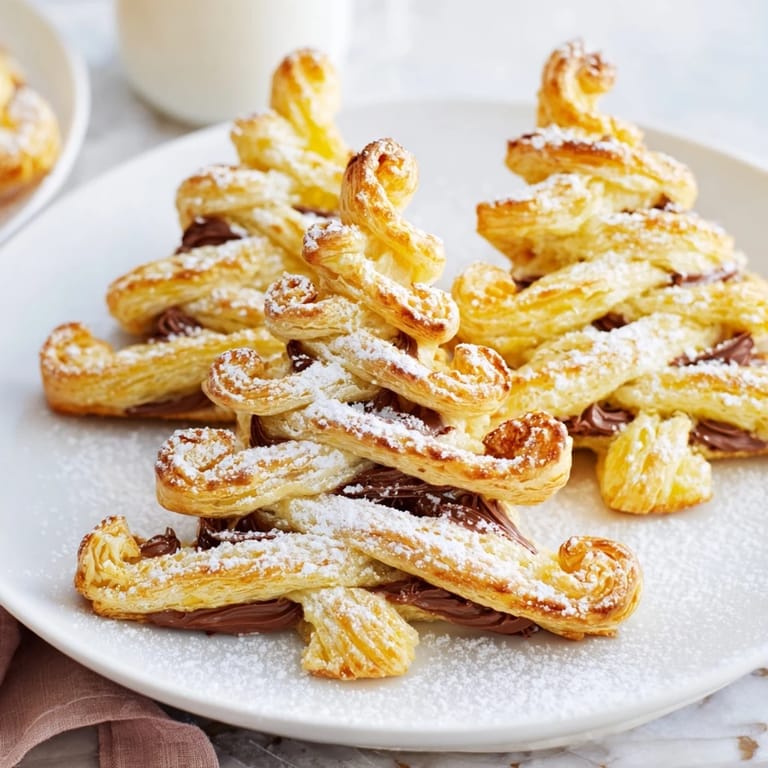
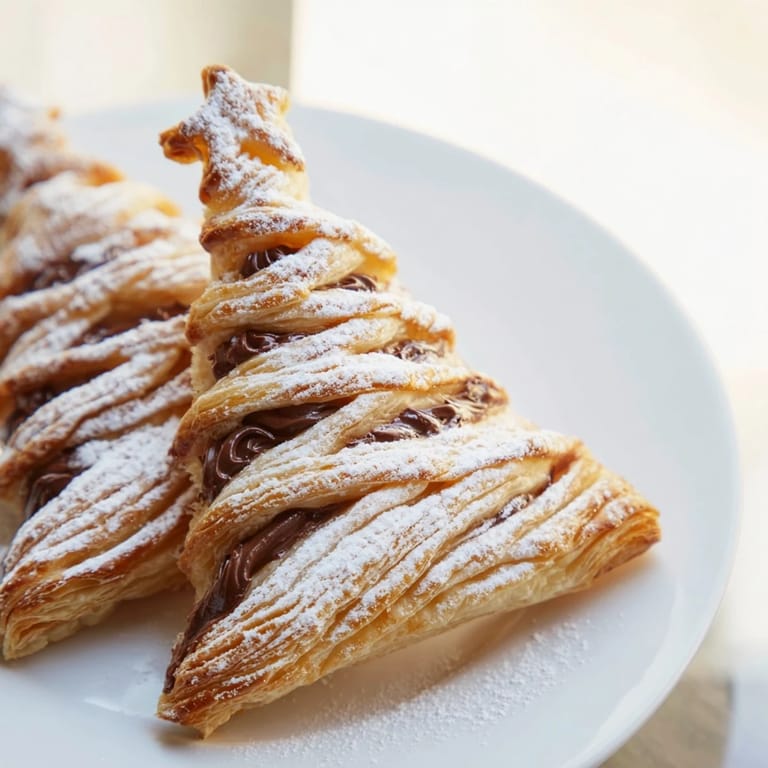
Save There's something about the smell of puff pastry puffing up in the oven that makes you feel like you've actually accomplished something in the kitchen. My sister texted me a photo of these Nutella pastry trees from a bakery she'd visited, and I remember thinking: I can absolutely make that at home. The first time I twisted those little branches, watching them catch the heat and curl just right, I knew I'd stumbled onto something that looked far more complicated than it actually was.
I made these during a chaotic Christmas Eve when my oven was already running something else, so I had to time everything perfectly. Somehow that pressure made them turn out even better—the pastry puffed up beautifully, and when I pulled them out, my daughter was standing there with her nose practically pressed to the oven door. She immediately started dunking pieces into hot chocolate, and I realized that the real magic wasn't in how they looked on the plate, but in how quickly they disappeared.
Ingredients
- Puff pastry (2 sheets, about 250 g each): Quality matters here—the laminated layers are what give you those crispy, flaky results, so don't skip thawing them properly or they'll crack when you fold them.
- Nutella (120 g): This is the star, and spreading it evenly is the key to making sure every bite has that chocolate-hazelnut flavor without it leaking everywhere while baking.
- Egg (1, beaten): The egg wash is what gives these their beautiful golden shine and helps them brown evenly—don't skip this step even though it feels minor.
- Powdered sugar (1 tbsp, optional): A light dusting at the end adds a snow-like finish that makes them look even more festive and gives a subtle sweetness boost.
Tired of Takeout? 🥡
Get 10 meals you can make faster than delivery arrives. Seriously.
One email. No spam. Unsubscribe anytime.
Instructions
- Prepare your workspace:
- Preheat your oven to 200°C (400°F) and line a baking tray with parchment paper—this small step saves you from pastry sticking and makes cleanup effortless.
- Layer the Nutella:
- Unroll your first pastry sheet and spread that Nutella generously but evenly across it, leaving about a 1-cm border so it doesn't squeeze out the sides when you press down. Then lay your second sheet on top like you're making the world's easiest chocolate sandwich.
- Cut your trees:
- Using a sharp knife or tree-shaped cookie cutter, cut out trees about 12-15 cm tall—if you're worried about your knife skills, the cutter takes the guesswork out. Don't throw away those scraps; you can re-roll them to make more trees.
- Add the branch details:
- This is where it gets fun: with a sharp knife, carefully score horizontal lines on each side of the tree, leaving that center trunk untouched. Then gently twist each branch—it doesn't need to be perfect, a little asymmetry actually looks more natural and charming.
- Brush and bake:
- Transfer your trees to the prepared tray, brush each one with beaten egg (this is non-negotiable for that golden color), then slide them into the oven for 16-18 minutes until they're puffed and gorgeously brown. You'll know they're done when the pastry looks crispy and feels hollow when you tap it.
- Final touch:
- Let them cool just enough to handle, then dust with powdered sugar if you want that festive snow effect. They're best served while still slightly warm, when the pastry is at its absolute crispiest.
 Save
Save The moment I realized these had become something special was when my neighbor came over, saw them cooling on the rack, and immediately asked for the recipe. There was something about the combination of being festive, delicious, and surprisingly achievable that made people feel like I'd done something genuinely impressive—even though the whole process was barely an hour from start to finish.
Why These Trees Win at the Holiday Table
These pastries have this incredible ability to look like you spent hours in the kitchen when you really didn't. They're the kind of dessert that photographs beautifully without any staging, they pair perfectly with coffee or hot chocolate, and they bridge that gap between feeling special and being totally approachable. Plus, in the chaos of holiday baking where you're juggling cookies and cakes and a thousand other things, having something this straightforward that impresses people is genuinely valuable.
The Art of Not Overthinking the Details
One thing I learned while making these repeatedly is that perfection isn't the goal—the branching doesn't need to look like a botanical illustration, the twist can be slight or dramatic, and honestly the ones that looked a little wonky had way more character. The pastry does most of the work for you; your job is just to not panic and let the oven do what it's designed to do. That shift in thinking made baking so much less stressful and honestly more fun.
Flavor Variations and Make-Ahead Strategy
The beauty of this recipe is how flexible it is for whatever you have on hand or whatever mood you're in. I've made versions with different chocolate spreads, added crushed hazelnuts for texture, even tried a thin layer of almond butter under the Nutella for extra richness. You can assemble these trees several hours ahead and keep them in the fridge before baking, which is a lifesaver when you're juggling multiple dishes during the holidays.
- Try mixing the Nutella with a spoonful of crushed hazelnuts or chopped pistachios for unexpected crunch and depth.
- A light brush of melted chocolate after baking creates an elegant drizzle if you're feeling fancy.
- Make these ahead, refrigerate on the tray, and bake fresh whenever you want warm pastries ready to go.
 Save
Save These little trees remind me that some of the best holiday memories don't come from complicated recipes—they come from something simple, shared, and made with a bit of care. Once you make these once, they'll become your thing, the dessert people ask you to bring, the reason someone texted you a photo because they wanted to recreate that moment you created in your kitchen.
Recipe FAQs
- → What type of pastry is ideal for these trees?
Flaky puff pastry works best to achieve light, golden layers that crisp beautifully when baked.
- → Can I use other spreads instead of Nutella?
Yes, chocolate-hazelnut alternatives or other chocolate spreads can be used to customize flavor.
- → How do I create the tree shapes effectively?
Cut tree shapes using a sharp knife or a cookie cutter, then twist the branches gently for decoration.
- → Is it necessary to use egg wash?
Egg wash helps achieve a golden, glossy finish on the pastry but can be omitted if preferred.
- → Can these pastries be reheated after baking?
Yes, reheating briefly in the oven restores crispness and freshness.