 Save
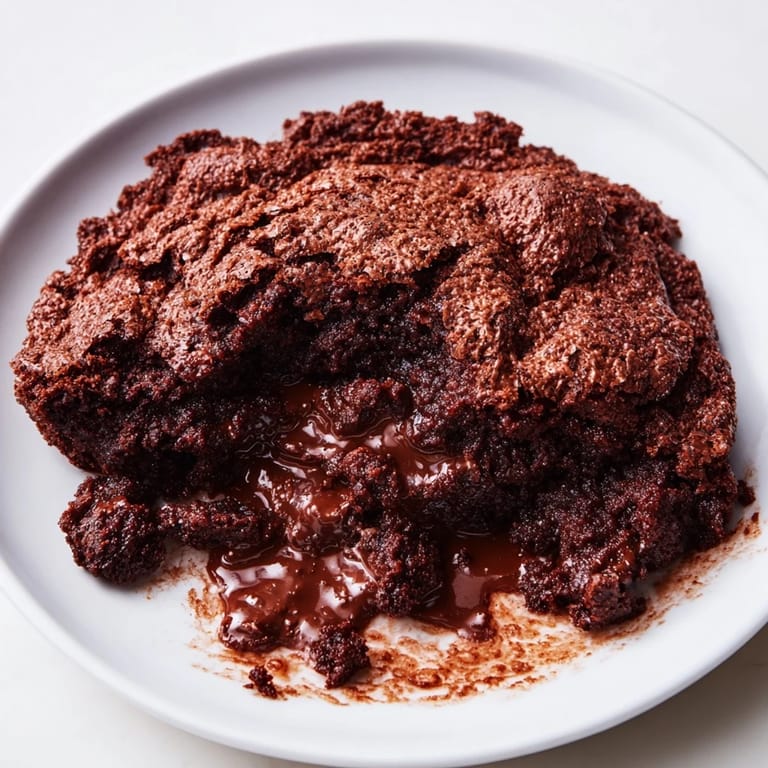
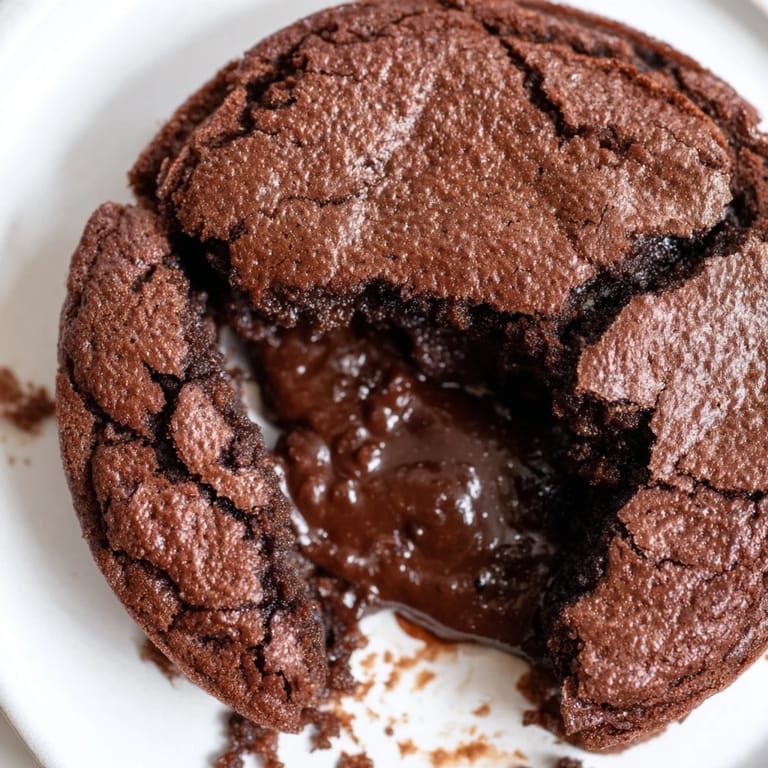
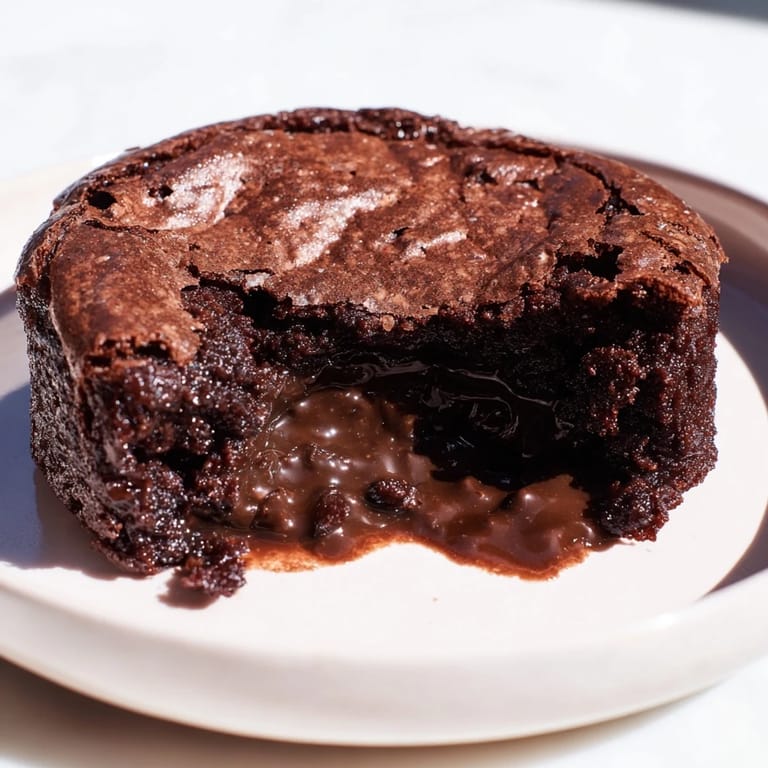
Save There's something about a chocolate dessert that demands to be shared, and this brownie pudding arrived in my kitchen on an ordinary Wednesday when I was craving something that felt both elegant and completely indulgent. The magic of it lies in that impossible contrast—a crackly, fudgy top that gives way to warm, molten chocolate in the center, like discovering a secret in every spoonful. I've made it for dinner parties where guests have actually stopped mid-conversation to process what just happened on their plates, and I've made it on quiet evenings just for myself, knowing full well I'd eat half of it before bed.
I learned the importance of this recipe one winter when a friend showed up at my door unexpectedly with bad news, and instead of trying to say anything helpful, I just started pulling ingredients together. By the time we'd finished talking and the oven timer went off, we had something warm and comforting to share that somehow made the whole evening feel less heavy. Since then, it's become my instinctive move when someone needs chocolate and kindness in equal measure.
Ingredients
- Unsalted butter (8 oz): Use real butter—it's the foundation of the rich flavor and the crackly texture, and I've learned that skimping here affects everything.
- Semisweet chocolate (6 oz), chopped: Chopping it yourself (rather than using chips) helps it melt more evenly and creates a silkier batter.
- Large eggs (4), at room temperature: Room temperature eggs whip up fluffier and incorporate better, creating that essential light, ribbon-like texture.
- Granulated sugar (2 cups): The sugar beaten with eggs is what gives you the structure and crackle on top—don't rush this step.
- All-purpose flour (1/2 cup): Sifting keeps the batter tender; lumpy flour means a dense, heavy pudding instead of that delicate contrast.
- Unsweetened cocoa powder (2 tbsp): The cocoa adds depth without extra fat, balancing the richness of the chocolate and butter.
- Vanilla extract (2 tsp): This small amount brightens the chocolate flavor and keeps it from feeling one-note.
- Kosher salt (1/4 tsp): Salt amplifies chocolate flavor in ways people rarely notice but always appreciate.
- Vanilla ice cream or whipped cream (for serving): The cold, creamy contrast is essential—it's not optional, it's the final touch that makes it complete.
Tired of Takeout? 🥡
Get 10 meals you can make faster than delivery arrives. Seriously.
One email. No spam. Unsubscribe anytime.
Instructions
- Set the stage:
- Preheat your oven to 325°F and butter a 2-quart baking dish thoroughly—this low temperature lets the center stay molten while the top sets. Having everything ready before you start makes the process feel calm and organized.
- Melt chocolate and butter together:
- Set a heatproof bowl over gently simmering water and combine the chopped chocolate and butter, stirring until completely smooth and glossy. This gentle heat (not direct flame) ensures the chocolate stays silky instead of becoming grainy.
- Whip eggs and sugar into ribbons:
- In a stand mixer, beat the eggs and sugar on medium-high speed for 5–10 minutes until the mixture is thick, pale, and falls from the beaters in ribbons. This step is worth the time—it's what gives the pudding its airy structure and crackly top.
- Gently combine chocolate and eggs:
- Reduce the mixer to low speed, add vanilla and salt, then slowly pour in the cooled chocolate mixture, stirring just until combined. Overworking at this point deflates all that aeration you just created.
- Fold in dry ingredients:
- Sift the flour and cocoa powder together, then use a spatula to fold them into the batter with a light hand, stopping as soon as you don't see streaks of flour. This is where patience pays off—rough mixing makes for a tougher crumb.
- Create the water bath:
- Pour the batter into the prepared dish, then place the whole thing inside a larger roasting pan and add hot tap water until it reaches halfway up the sides of the baking dish. This gentle, humid heat is what creates that magical pudding center.
- Bake with intention:
- Bake for exactly 1 hour—the top should look set with a subtle crackle, but the center will still jiggle slightly when you gently shake the pan. Remove from the water bath and let it cool for at least 15 minutes before serving.
 Save
Save There was a moment at a dinner party when someone took a bite, went completely quiet, and then looked up with this expression of pure surprise—that's when I realized this dessert does something beyond just tasting good. It creates a small, shared moment of chocolate-induced wonder, and that feeling is why I keep making it.
The Science of the Crackle
The crackly top isn't an accident—it's the result of beating eggs and sugar until they hold air, then baking at a lower temperature that lets the outside set before the inside fully cooks. The cocoa powder on top absorbs heat slightly differently than the pure chocolate batter underneath, creating those beautiful cracks as it bakes. Understanding this helped me stop second-guessing myself when the top looks almost done but the center still moves.
Temperature and Timing Matter More Than You'd Think
I've learned that a 325°F oven is specific for a reason—325°F gives you that perfect moment where the outside is set and crackly but the center remains soft and molten, while a hotter oven would bake the entire thing solid. The water bath isn't just for show; it regulates the heat and creates a humid environment that keeps the pudding layer creamy instead of dry. If your oven runs hot or cold, you might need to shorten or extend the bake time by a few minutes, so watching and listening to your oven is part of becoming good at this dessert.
Variations and Personal Touches
The base recipe is perfect as written, but I've experimented with small additions over the years that deepen the flavor without disrupting the balance. A pinch of espresso powder in the batter adds mystery without making it taste like coffee, and using bittersweet chocolate instead of semisweet appeals to people who prefer less sweetness. For halfing the recipe to serve two or three people, a smaller baking dish works beautifully, though you might need to reduce the baking time slightly since the batter will be shallower.
- If serving with vanilla ice cream, let it soften for just a minute so it melts slightly into the warm chocolate pudding.
- Whipped cream spiked with a tiny bit of vanilla and a pinch of cocoa powder on top feels extra special.
- Leftovers (if there are any) can be gently reheated and are almost as good the next day, though the pudding center will be less molten.
 Save
Save This dessert reminds me that sometimes the most memorable things come from the smallest moments of care and intention in the kitchen. Serve it warm with something cold alongside, and watch what happens when people taste it.
Recipe FAQs
- → What creates the crackly top on this dessert?
The crackly top forms from the sugar and eggs whipping process, which creates a glossy, thin crust during baking.
- → Why use a water bath during baking?
The water bath gently regulates heat, ensuring the center stays soft and molten while the surface sets evenly.
- → Can I substitute bittersweet chocolate for semisweet?
Yes, bittersweet chocolate will deepen the flavor and add richness to the dessert.
- → What is the best way to cool and serve this dessert?
Allow to cool for at least 15 minutes before serving warm, ideally paired with vanilla ice cream or whipped cream.
- → How can I adjust the recipe for fewer servings?
The batter can be halved and baked in a smaller dish, adjusting the baking time as needed.