Save
Save The first time I made crème brûlée, I was terrified of three things: curdling the eggs, overbaking the custard, and failing with the torch. What surprised me most was how forgiving it actually was—and how a dessert requiring just three ingredients could taste like I'd spent hours in a French kitchen. Now, years later, I reach for this recipe whenever I want to impress someone without breaking a sweat.
I made these for my roommate after a terrible week at her job, and watching her face light up when that torch hit the sugar was worth every careful minute. She asked if I'd taken a pastry class, and I had to laugh—I'd learned it from a three-ingredient list and a lot of faith in the process. That's when I realized crème brûlée isn't complicated; it just feels that way until you do it once.
Ingredients
- Heavy cream (2 cups): This is your custard's backbone—use the good stuff because there's nowhere to hide. Cold cream pours more smoothly, so if you have time, chill it while you prep everything else.
- Egg yolks (4 large): These thicken the custard and make it silky; the fresher, the better. Room temperature yolks whisk together more evenly with sugar.
- Granulated sugar (1/2 cup for custard, 4 tablespoons for topping): The custard sugar dissolves into smoothness; the topping sugar becomes that crackling shell everyone loves.
Tired of Takeout? 🥡
Get 10 meals you can make faster than delivery arrives. Seriously.
One email. No spam. Unsubscribe anytime.
Instructions
- Heat the cream gently:
- Warm your cream in a saucepan over medium heat until steam rises and tiny bubbles form at the edges. You'll smell the richness of it, and that's your signal to stop—boiling makes it grainy. Pour it into a measuring cup if you'd like; it'll cool slightly and prevent accidents.
- Whisk yolks with sugar:
- In a bowl, whisk the egg yolks and sugar together for about a minute until the mixture lightens in color and looks a little fluffy. This step matters more than you'd think—rushing it can leave you with graininess.
- Temper the eggs:
- Here's where panic sets in for most people, but it's your moment to slow down. Whisking constantly, pour the warm cream into the yolk mixture in a steady stream. Imagine you're having a conversation with the bowl—slow, patient, never stopping the whisk.
- Strain for silk:
- Push the custard through a fine sieve into a measuring cup or bowl, using a spatula to help it along. This step removes any tiny cooked egg bits and gives you that restaurant-smooth texture that makes people gasp.
- Fill and bake:
- Divide the custard evenly among four ramekins and nestle them in a baking dish filled with hot water halfway up their sides. This water bath keeps the edges from cooking faster than the center, which is the whole secret to that barely-set, wobbling middle.
- Know when it's done:
- Bake for 30 to 35 minutes—the edges should look set, but if you gently shake a ramekin, the center should jiggle slightly, like barely set Jell-O. Overcooked custard becomes dense and grainy; this gentle wobble is perfection.
- Chill deeply:
- Let the ramekins cool to room temperature, then refrigerate for at least an hour (or up to two days). Cold custard is the canvas for your caramelized sugar topping.
- Torch the top:
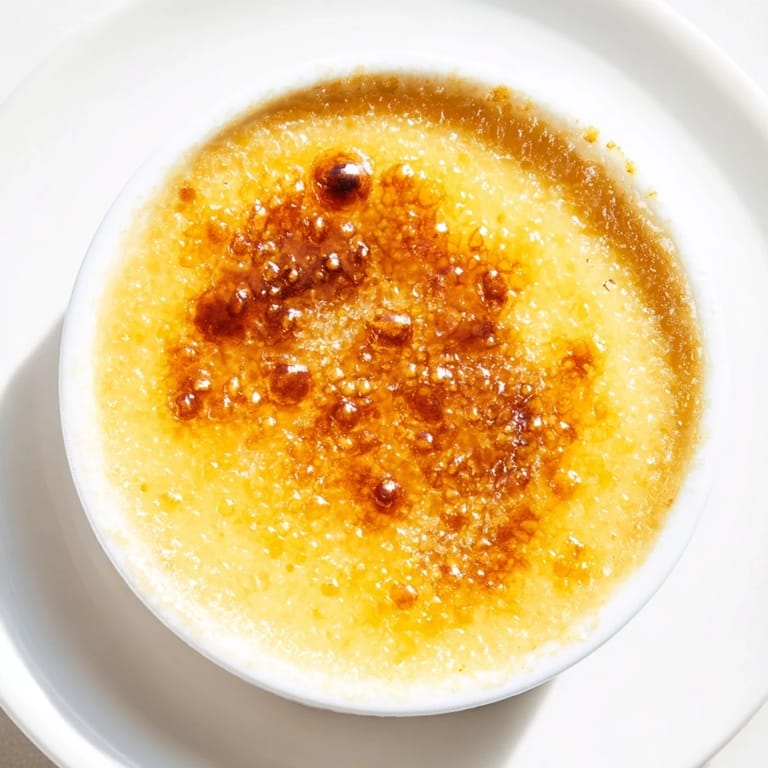
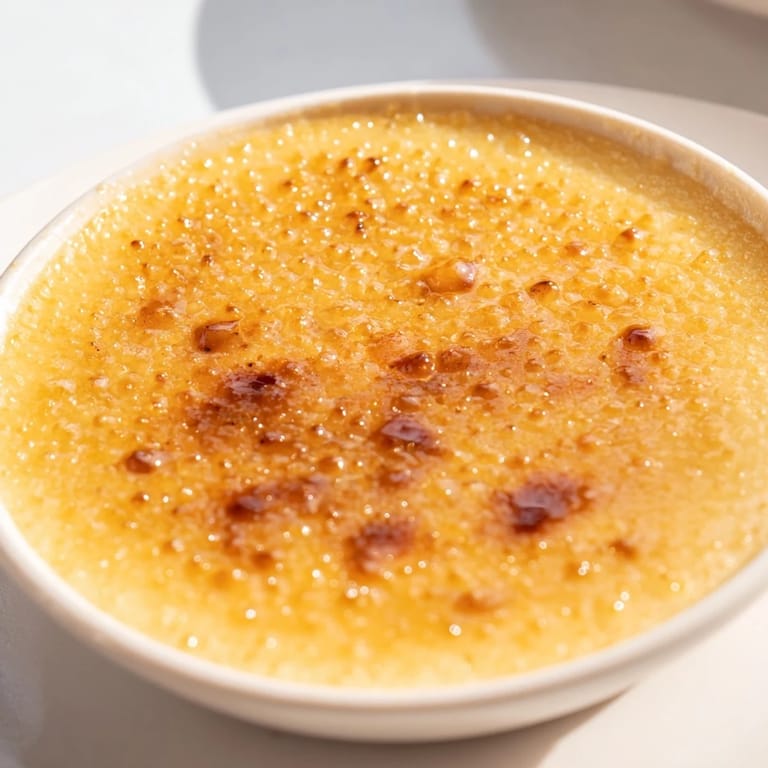
- Just before serving, sprinkle a tablespoon of sugar evenly over each custard and caramelize with a torch until deep golden brown. Listen for the subtle crackling sound—that's your cue that it's done. Let it sit for a minute so the sugar hardens into that glorious crust.
 Save
Save My favorite memory with this dessert was serving it to my grandmother, who is not easily impressed by food. She took one bite, closed her eyes, and said, 'You made this?' in a tone that suggested I'd done something impossible. It reminded me that sometimes the simplest things, made with care, are what people remember.
The Water Bath: Your Secret Weapon
The water bath might seem fussy, but it's actually genius—it distributes heat evenly and keeps the custard from cooking too fast at the edges. I learned this the hard way when I skipped it once, and the result was overcooked and broken. Now I think of it like a warm hug that protects the custard while it sets. If you're nervous about moving a full baking dish into the oven, fill it with water after the ramekins are in place—it's safer and easier than you'd think.
The Caramelized Sugar Crust: Theater and Technique
The torch moment is where crème brûlée stops being just dessert and becomes an event. The heat melts the sugar, which then hardens into a thin, glassy shell that cracks under your spoon. It's the textural contrast—cold silky custard against hot crisp sugar—that makes it unforgettable. If you find yourself nervous with the torch, practice on a spare ramekin first or use your broiler, but give yourself time to master the torch because once you do, you'll feel like a magician every single time.
Flavor Variations and Serving Ideas
While the classic three-ingredient version is pure perfection, I've learned that a split vanilla bean steeped in the cream overnight transforms it into something even more luxurious. Lemon zest whisked into the custard brings brightness, and a pinch of cardamom or cinnamon in the sugar topping adds intrigue. Serve with fresh berries, a sprig of mint, or a small glass of dessert wine alongside—each one changes the story of the dish.
- Vanilla bean or zest elevates the flavor without complicating the ingredient list.
- Fresh berries pressed gently into the warm caramel make it visually stunning and add freshness.
- Always serve immediately after caramelizing so your guests experience that perfect temperature contrast.
 Save
Save Crème brûlée taught me that elegance doesn't require a long ingredient list or hours of labor—it just requires respect for simple, quality ingredients and a moment of focus when you're at the stove. Make this once, and you'll make it again and again.
Recipe FAQs
- → What is the purpose of the water bath during baking?
The water bath gently distributes heat, ensuring the custard cooks evenly and prevents it from curdling or cracking.
- → Can I infuse the cream with flavors?
Yes, adding vanilla bean or citrus zest to the cream before heating enhances the custard’s richness and aroma.
- → How do I achieve the perfect caramelized sugar crust?
Use a kitchen torch or broiler to melt the sugar evenly until golden and crisp, then allow it to cool briefly to harden.
- → What texture should the custard have when baked?
The custard should be just set but slightly wobbly in the center, indicating a creamy and smooth consistency.
- → Is it necessary to strain the custard mixture?
Straining removes any cooked egg bits or lumps, resulting in a silky smooth custard texture.