 Save
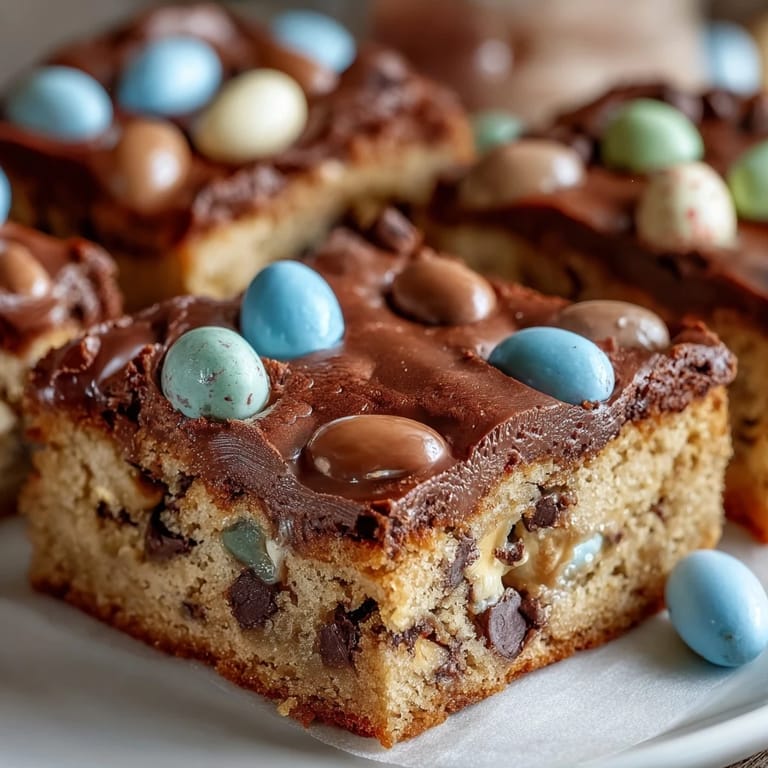
Save The scent of melting butter wafted through my kitchen as I scooped creamy peanut butter into a mixing bowl, chasing off the late winter chill. I’d never thought much about cookie bars until an impromptu spring gathering made me crave something cheerful and easy. There was something playful about tossing in Easter egg candies, their pastel colors a patchwork against beige dough, almost daring me to sneak a piece while it baked. My dog eyed the bowl hopefully, but I reminded him chocolate was for humans. Sometimes, the best baking days start with a practical need and end in a joyful surprise.
I remember baking these for my neighbor’s kids last spring; the kitchen erupted with giggles as they pressed extra Easter eggs on top, eager to see the results. Even after the first try, the bars came out so inviting, I barely managed to keep them on the tray long enough for everyone to grab one. That sunny afternoon cemented this recipe as my go-to for casual celebrations—especially when sweets are a must.
Ingredients
- Unsalted butter: Melting the butter and letting it cool slightly makes the bars moist and fudgy—just be sure it’s not hot or it can scramble the eggs.
- Creamy peanut butter: This ties everything together, and using smooth peanut butter helps distribute both flavor and texture evenly.
- Light brown sugar: Packs in caramel notes that make each bite extra rich—firmly packed for accuracy is key.
- Granulated sugar: A little white sugar gives structure and crisp edges, balancing the softness.
- Eggs: Room-temperature eggs blend better; I’ve found cold eggs can make the mixture lumpy.
- Vanilla extract: Genuine vanilla boosts the aroma and rounds out the sweetness.
- All-purpose flour: Measuring flour carefully prevents dryness; I always spoon and level rather than scooping.
- Baking powder & baking soda: Both leaveners ensure the bars rise gently, making them light but not cakey.
- Salt: Don’t skip it—just a little brings out all the flavors.
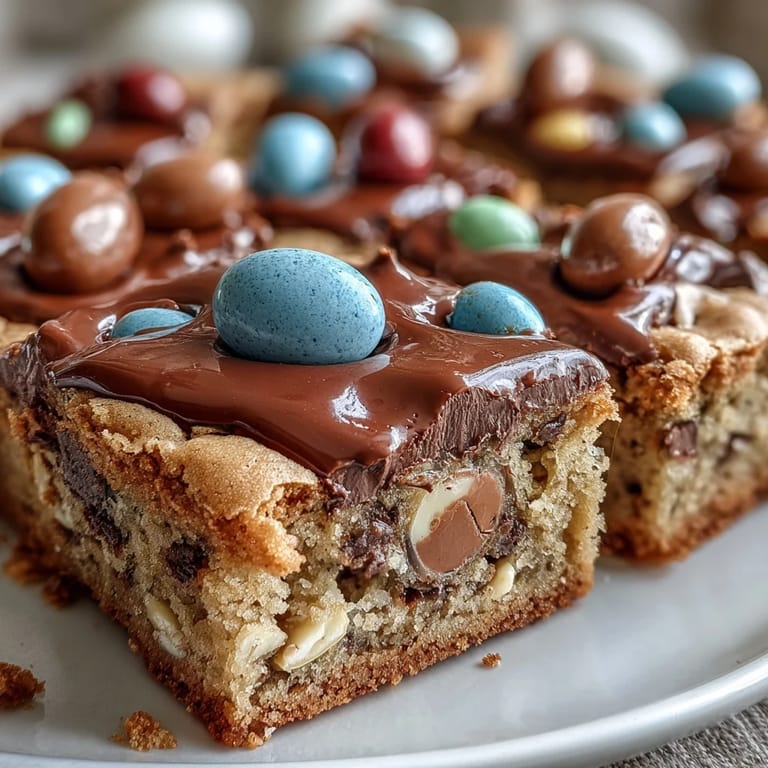
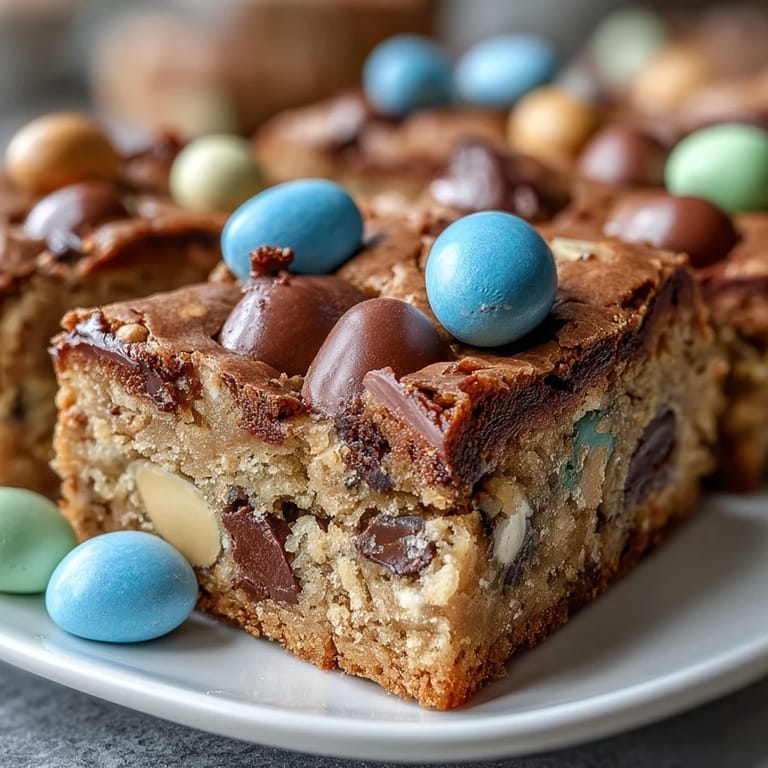
- Easter egg chocolate candies: These add crunch and color, but pressing some on top after spreading guarantees every slice feels festive.
- Semi-sweet chocolate chips: Totally optional, but chocolate lovers in my house insist it’s not a cookie bar without them.
Tired of Takeout? 🥡
Get 10 meals you can make faster than delivery arrives. Seriously.
One email. No spam. Unsubscribe anytime.
Instructions
- Get prepped:
- Turn the oven on to 350°F (175°C) and line your 9x9-inch pan with parchment so the bars lift out easily.
- Mix wet ingredients:
- Whisk melted butter, peanut butter, and both sugars until creamy; the aroma is heavenly and signals you’re on track.
- Add eggs and vanilla:
- Drop in eggs and vanilla, whisking until glossy—don’t rush, this step smooths everything out.
- Combine dry ingredients:
- In another bowl, fluff up flour, baking powder, baking soda, and salt with a whisk to evenly distribute the leaveners.
- Blend together:
- Gently fold dry into wet using a spatula, just until no streaks remain; overmixing makes bars tough.
- Add candies and extras:
- Stir in Easter egg candies and chocolate chips if using, making sure every scoop has some color.
- Spread and decorate:
- Pour dough into pan, level out, then press candies into the top for a colorful finish—kids love helping here.
- Bake:
- Slide into the oven and bake 22-25 minutes, watching for golden edges but a slightly soft center.
- Cool and slice:
- Wait until bars are completely cool (resist temptation), then lift out and slice into squares for serving.
 Save
Save The last time I brought these to a spring potluck, friends circled the kitchen, ready to prowl for seconds. Someone joked that the bars ‘disappeared faster than ice on a sunny sidewalk.’ That moment made me realize these bars were more than a treat—they were an instant crowd-pleaser, always sparking conversation and smiles.
A Cookie Bar for Every Season
After Easter, I started swapping in red or green candies for winter holidays or pastel M&Ms for summer birthdays. Every batch can be customized, and it’s fun to share them with people who notice the little touches. The bars stay reliably soft, making them a safe bet even when you’re short on time.
Easy Storage, Big Flavor
Once cool, I tuck leftovers in a tin lined with parchment, and the bars stay perfectly chewy for days. It’s tempting to hide a few for yourself before sharing because everyone will request them again. The peanut butter flavor only seems to deepen overnight.
My Favorite Serving Tricks
If you drizzle warm peanut butter over the bars just before serving, it adds a luscious, creamy finish—almost like frosting. I also sometimes sprinkle flaky salt for a grown-up touch, or crumble the bars over ice cream for a decadent dessert.
- Cut the bars with a plastic knife for clean squares.
- Let candies cool before slicing to avoid smearing colors.
- Always line the pan for easy lift-out and tidy servings.
 Save
Save May these cookie bars brighten your kitchen and sweeten your spring gatherings. You might find the toughest part is deciding who gets the last piece.