 Save
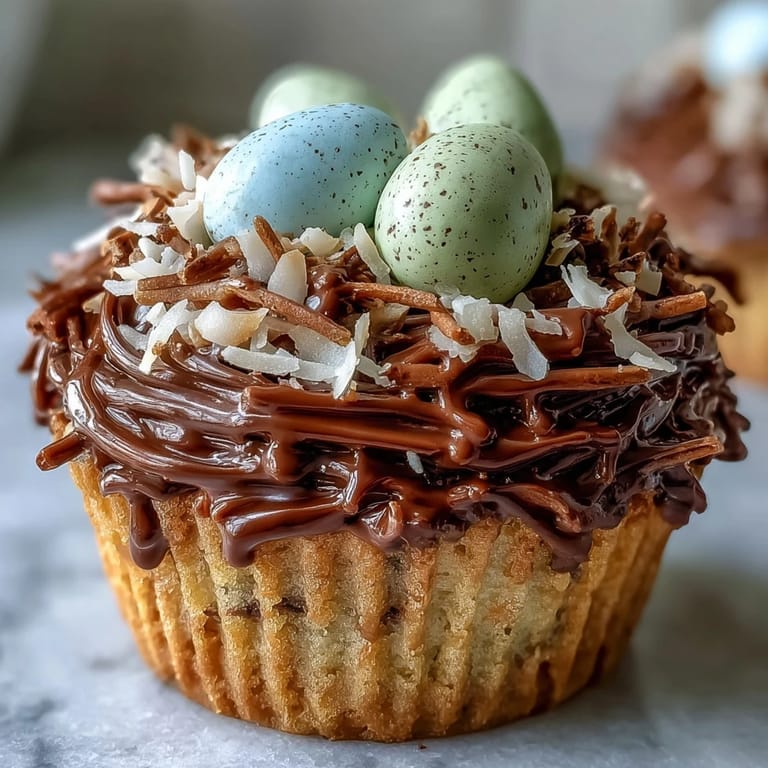
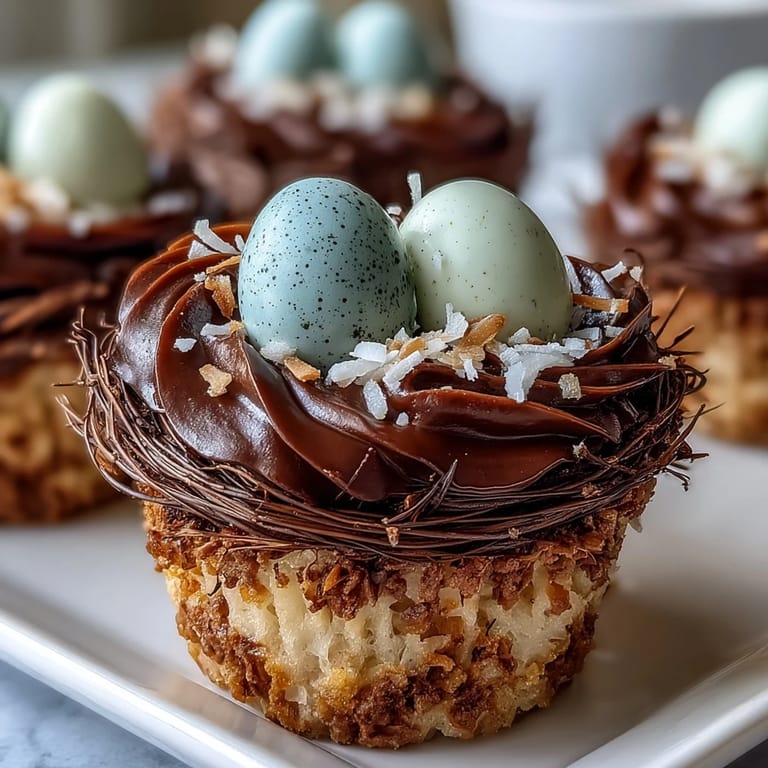
Save The first time I baked these Easter Nest Cupcakes, the kitchen buzzed with that giddy sense of spring anticipation—I could smell chocolate mingled with the faint sweetness of vanilla as I arranged pastel candy eggs on the countertop. Sunlight poured across my workspace, catching the flecks of cocoa dust as I whisked, and even my usually indifferent cat poked his head around, lured by the tempting scent. It was less about picture-perfect nests and more about the fun of swirling buttercream and cracking jokes with whoever wandered in. The cupcakes emerged so moist and rich that I couldn't resist sneaking one before the chocolate nests were even finished. Baking them just feels like a cheerful, slightly messy way to celebrate the return of bright days.
One rainy afternoon, I made these cupcakes with my niece, who insisted each little candy egg needed its own voice as we placed them in their nests. We laughed until our decorating hands shook—some nests ended up lopsided, but not a single cupcake lasted until the next day. Sharing the process, with flour on noses and unexpected messes, made them our favorite Easter tradition.
Ingredients
- All-purpose flour: This is the foundation for fluffy cupcakes—be sure to measure it with a light hand to avoid dense results.
- Unsweetened cocoa powder: Adds deep chocolate flavor—Dutch-process or natural both work, but sifting helps prevent lumps in the batter.
- Granulated sugar: Sweetens and helps keep the crumb moist—don’t skimp or your cupcakes will taste flat.
- Baking powder & baking soda: The combination ensures a lofty, tender crumb—double check their freshness for the best rise.
- Salt: Even a little pinch sharpens chocolate’s flavor and balances sweetness.
- Eggs: Bind everything together and give a luscious texture—room temperature eggs mix in more evenly.
- Whole milk: Creates soft, moist cupcakes—if using a milk alternative, expect a slightly denser crumb.
- Vegetable oil: Makes the crumb super moist, even after a day or two.
- Vanilla extract: Adds a cozy backnote—don’t skip it, even with all that chocolate.
- Hot water: Loosens the batter and deepens the cocoa flavor—don’t worry, the mixture will look runny at first, but that’s key for a tender cupcake.
- Unsalted butter: The star of the buttercream—make sure it’s softened for the silkiest frosting.
- Powdered sugar: Sweetens while creating fluffy, thick buttercream that pipes beautifully.
- Shredded coconut or chocolate sprinkles: Optional, but they’re what sell the nest illusion—toast the coconut first for a nutty, golden touch.
- Mini candy-coated chocolate eggs: These cheerful toppers can be swapped for jelly beans, but the eggs bring that unmistakable springtime pop.
Tired of Takeout? 🥡
Get 10 meals you can make faster than delivery arrives. Seriously.
One email. No spam. Unsubscribe anytime.
Instructions
- Get the oven set up:
- Preheat your oven to 350°F (175°C) and line a 12-cup muffin tin with your favorite cupcake liners—the pastel ones look extra festive this time of year.
- Combine dry ingredients:
- In a big mixing bowl, whisk flour, cocoa powder, sugar, baking powder, baking soda, and salt until you see a uniform, soft brown powder—run your fingers through and enjoy the chocolaty aroma.
- Mix up the wet ingredients:
- In a separate bowl, beat together the eggs, whole milk, vegetable oil, and vanilla until the mixture is silky and pale.
- Bring it all together:
- Pour the wet mixture into the dry ingredients and gently stir just until you can’t see any dry spots—now drizzle in your hot water and mix until smooth; don’t be alarmed if the batter seems thin!
- Fill and bake:
- Scoop the batter into the lined tin, filling each cup about two-thirds full—slide the tray onto the middle rack and let them bake for 18 to 20 minutes, or until a toothpick poked into the center comes out clean.
- Cool completely:
- Transfer cupcakes to a wire rack and let that chocolatey scent fill your kitchen as they cool off—resist the urge to frost while warm or the buttercream will melt.
- Make the buttercream:
- Beat the softened butter with powdered sugar, cocoa powder, milk, vanilla, and a pinch of salt until it looks whipped and dreamy—you want it light, not stiff.
- Frost the nest:
- Spoon or pipe the buttercream onto each cupcake in a rough spiral to mimic a little nest, leaving a well in the center for the eggs.
- Add the nest materials:
- If using, gently scatter toasted coconut or chocolate sprinkles around the edge of the nest for crunch and a more rustic look.
- Nestle in the eggs:
- Set 2 to 3 mini candy eggs in the pocket of each nest—sometimes they try to roll away, which always makes me laugh.
 Save
Save  Save
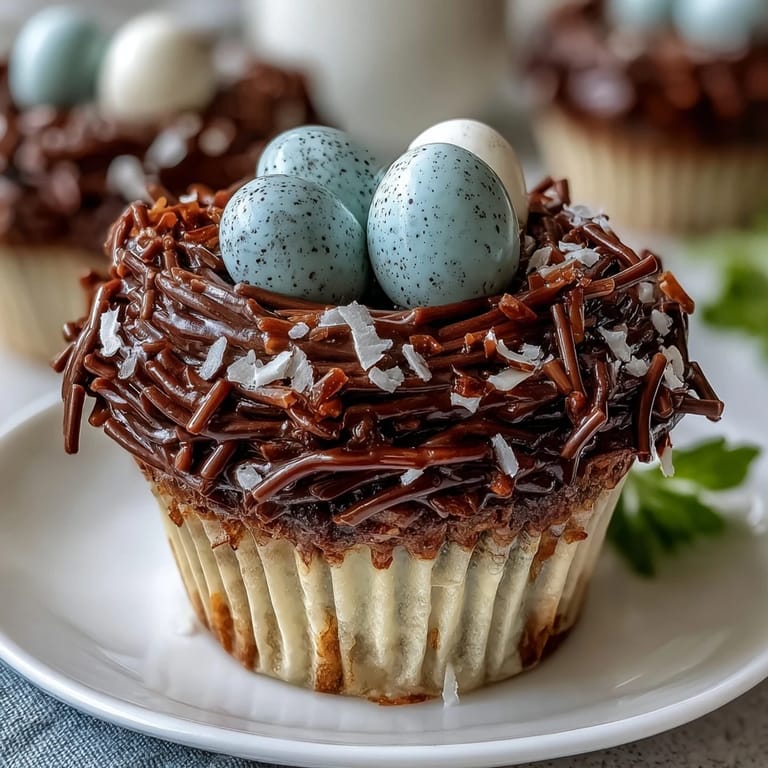
Save There was a year when these cupcakes took center stage at our family brunch, and everyone paused to admire their cuteness before digging in. Seeing grownups and kids alike giggling over which egg colors to claim, I realized these treats make dessert just a bit more magical.
Decorating Like a Pro Without the Fuss
Turns out, piping skills aren’t required; even a spoon will give you convincing nests with swoopy, rustic buttercream swirls. My favorite trick is using a small offset spatula or even the back of a soup spoon to work the frosting in circles—don't aim for perfection, wonkier nests have more charm.
Easy Ways to Vary the Cupcakes
Try tucking jelly beans or bright gummy candies into the nests if you’re out of candy eggs, or swap in dark chocolate shavings for a more grown-up look. For a flavor twist, a sprinkle of orange zest in the batter or a handful of mini chocolate chips can make these little cakes even more irresistible.
Making Cupcakes Ahead and Storing Them
These cupcakes keep well in an airtight container for up to two days, and you can even make the buttercream the day before, storing it covered at room temperature. Wait to decorate until just before serving if you want the eggs to keep their color and crunch.
- Let cupcakes cool completely before sealing them to avoid sogginess.
- Store leftover cupcakes (if any) in a cool, dry spot—not the fridge, as that dries them out.
- Buttercream can be whipped again for fluffiness if it stiffens overnight.
 Save
Save  Save
Save I hope making these cupcakes brings as much color and laughter into your kitchen as it has into mine. Have fun decorating, and don’t stress—your nests are perfect just as they are.
Recipe FAQs
- → How do I keep the cupcakes moist?
Measure flour accurately, avoid overmixing the batter, include the hot water called for in the batter to help bloom the cocoa, and bake only until a toothpick comes out clean. Slightly underbaking by a minute can preserve extra moisture.
- → Can I toast the shredded coconut for better flavor?
Yes. Spread coconut in a single layer on a baking sheet and toast at 325°F, stirring every few minutes, until golden and fragrant. Cool completely before using so it holds a crisp nest texture.
- → What tip and technique create the nest shape?
Use a medium round piping tip or a small spatula. Pipe a circular swirl from the outside inward, then pipe a smaller circle inside to form a shallow well. Press slightly with the back of a spoon if needed before adding the candy eggs.
- → Are there good gluten-free substitutions?
Swap in a 1:1 gluten-free flour blend designed for baking; check for xanthan gum in the blend or add a small amount to improve texture. Monitor batter consistency and bake time, as it may vary slightly.
- → How should I store leftovers?
Keep cupcakes in an airtight container at room temperature for up to 2 days. For longer storage, refrigerate for up to 4–5 days; bring to room temperature before serving to restore softness. If decorated with delicate candy, store in a single layer to avoid smudging.
- → Can I make egg- or dairy-free versions?
Yes. Use flax or chia egg replacements for the eggs, plant-based milk and vegan butter for the buttercream, and ensure candy eggs are dairy-free if needed. Texture and flavor may differ slightly, so adjust liquid amounts and creaming time as required.